No customer service battery exchange on Connected models

Posts
80
Likes
142
Great , thank you. It seems like you did a very clean job in removing it all. Well done on that.
Am I right in thinking that the glue only holds black bezel onto the screen module, ? What holds the screen module to the titanium back casing ? Thx

is the glue only on the top and bottom of the bezel ? Thx
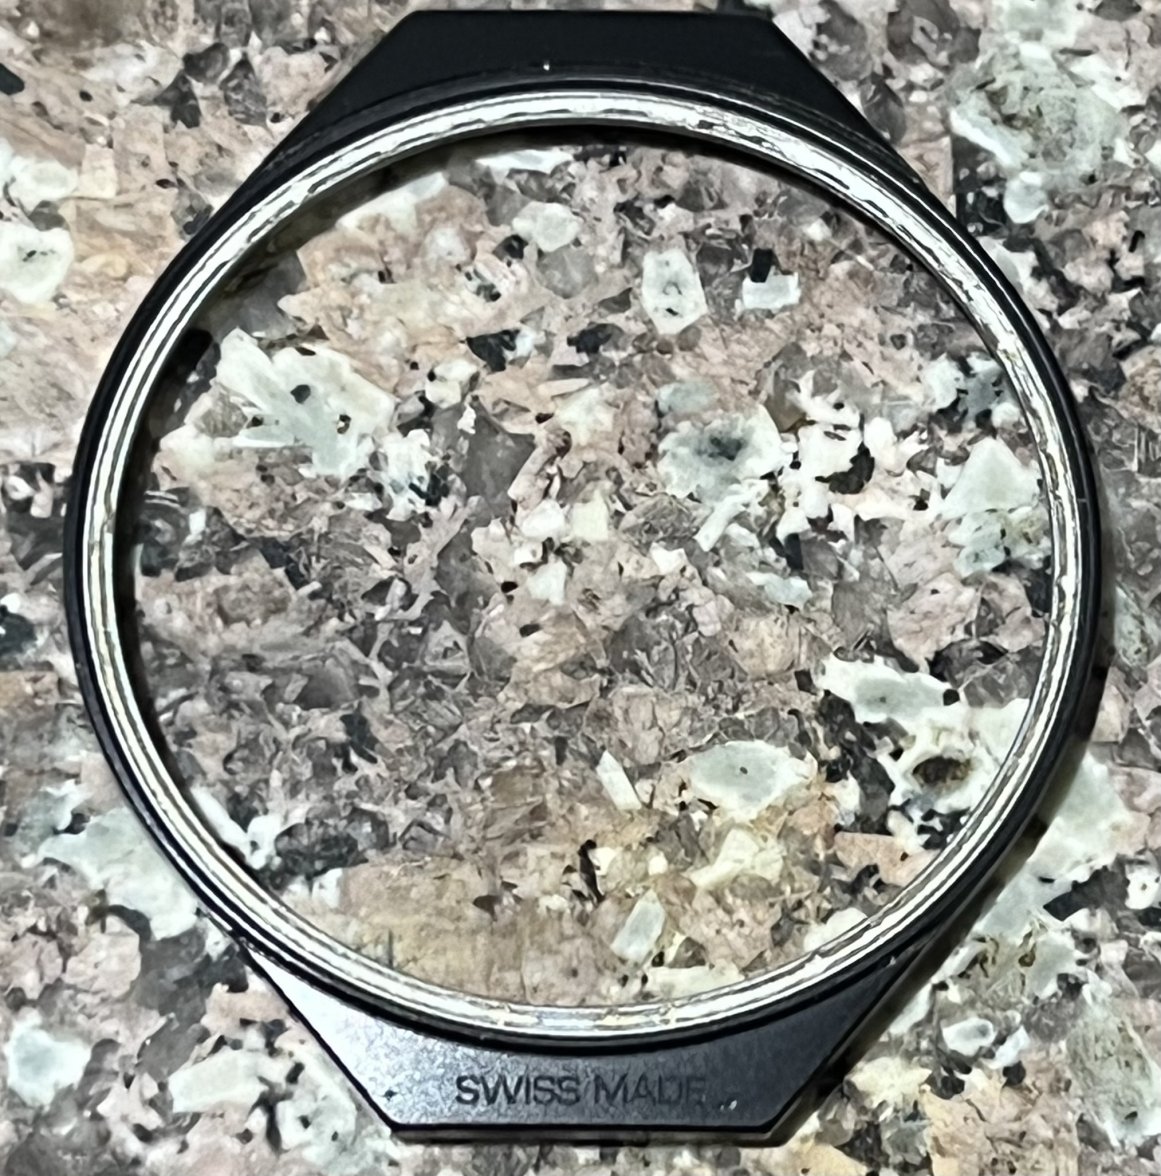
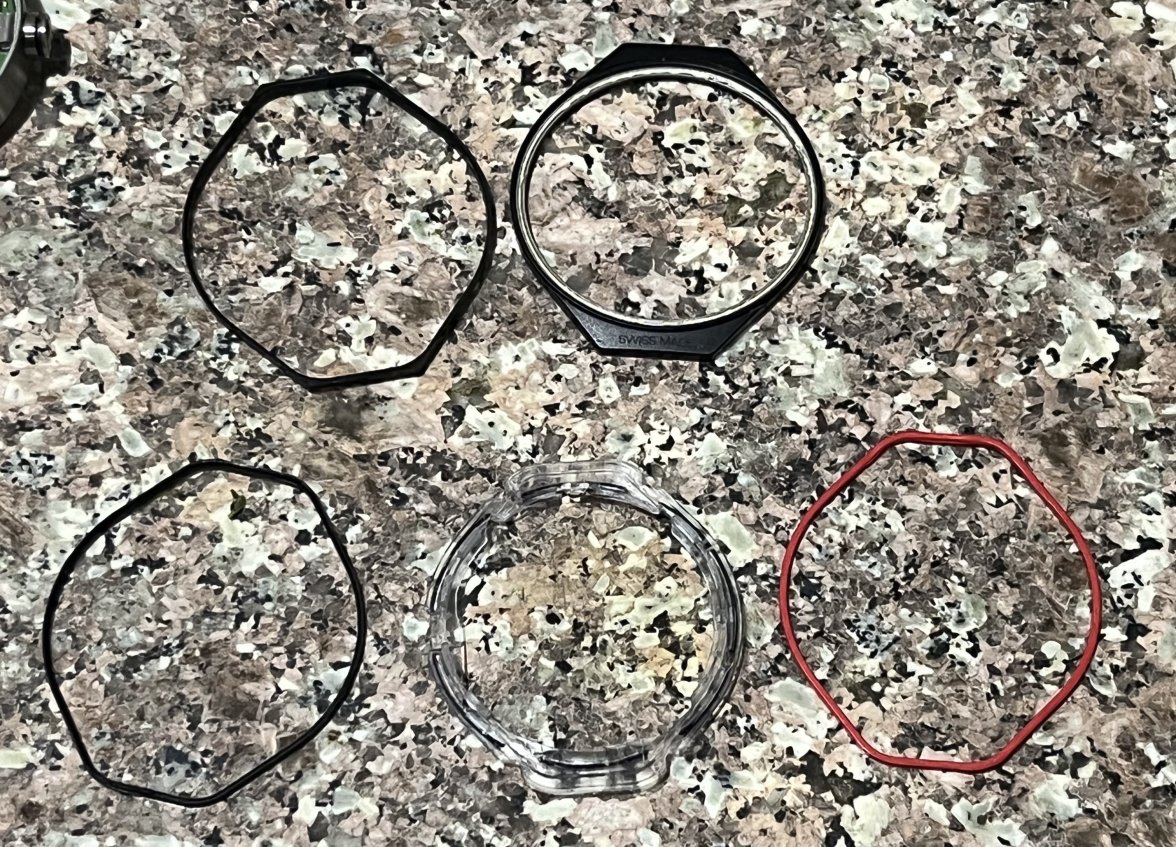
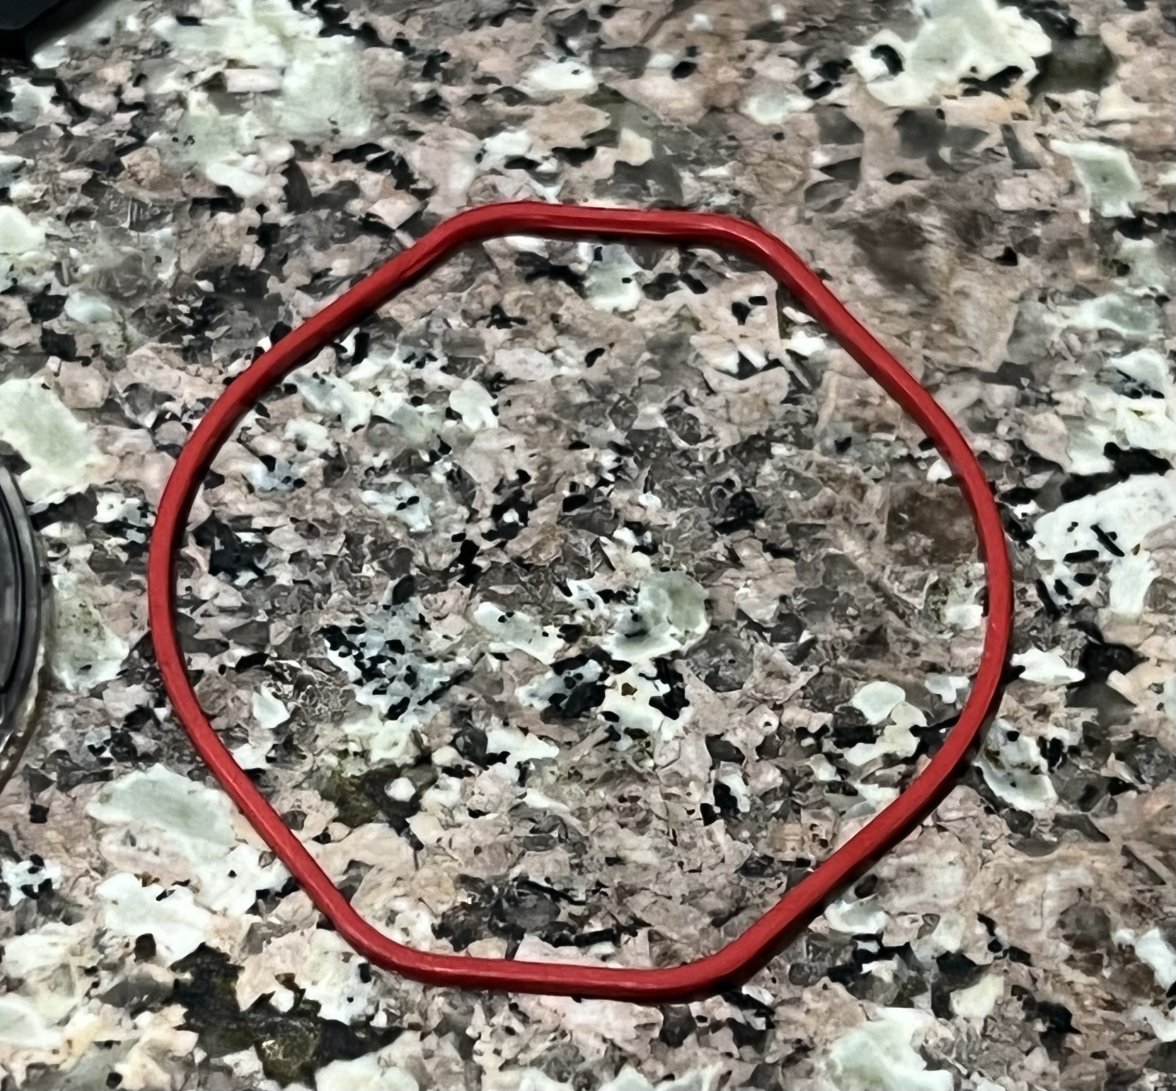
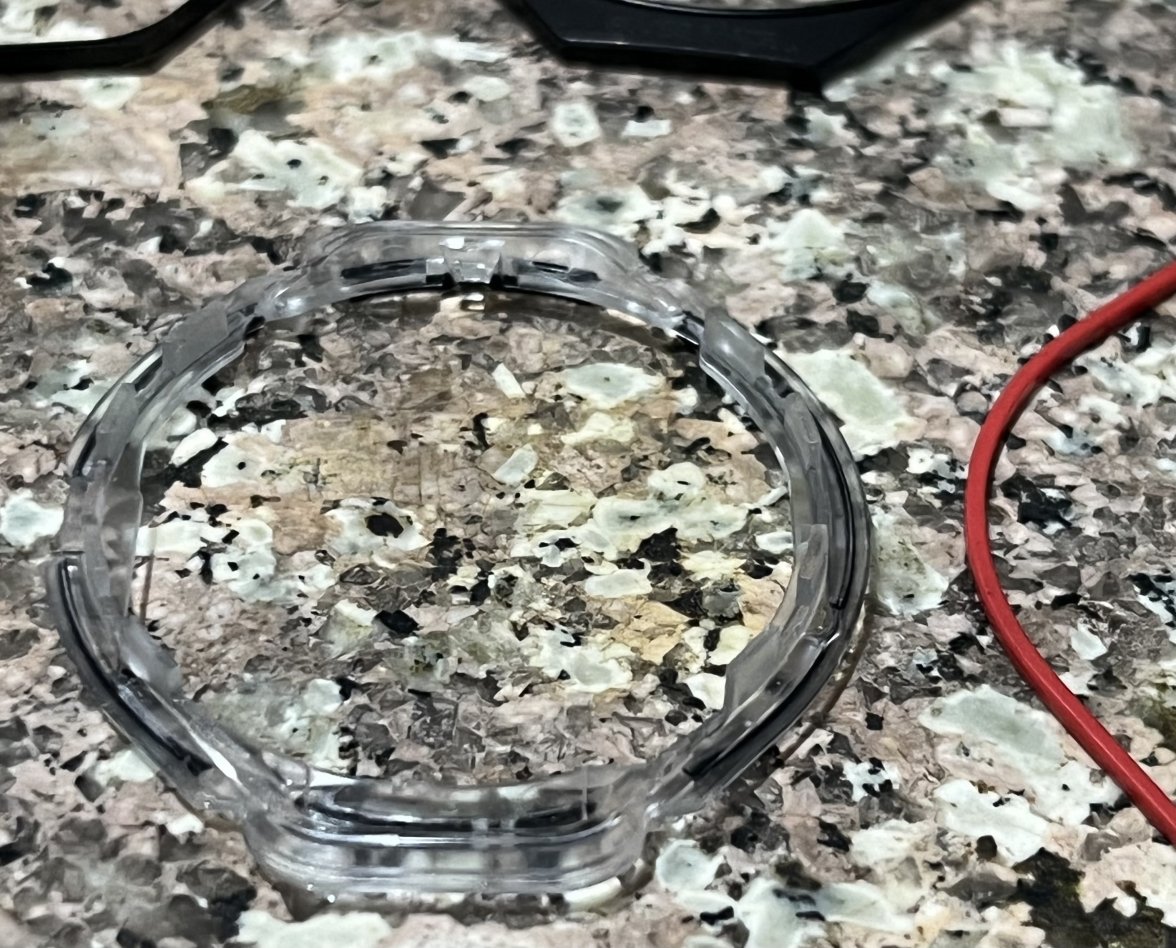
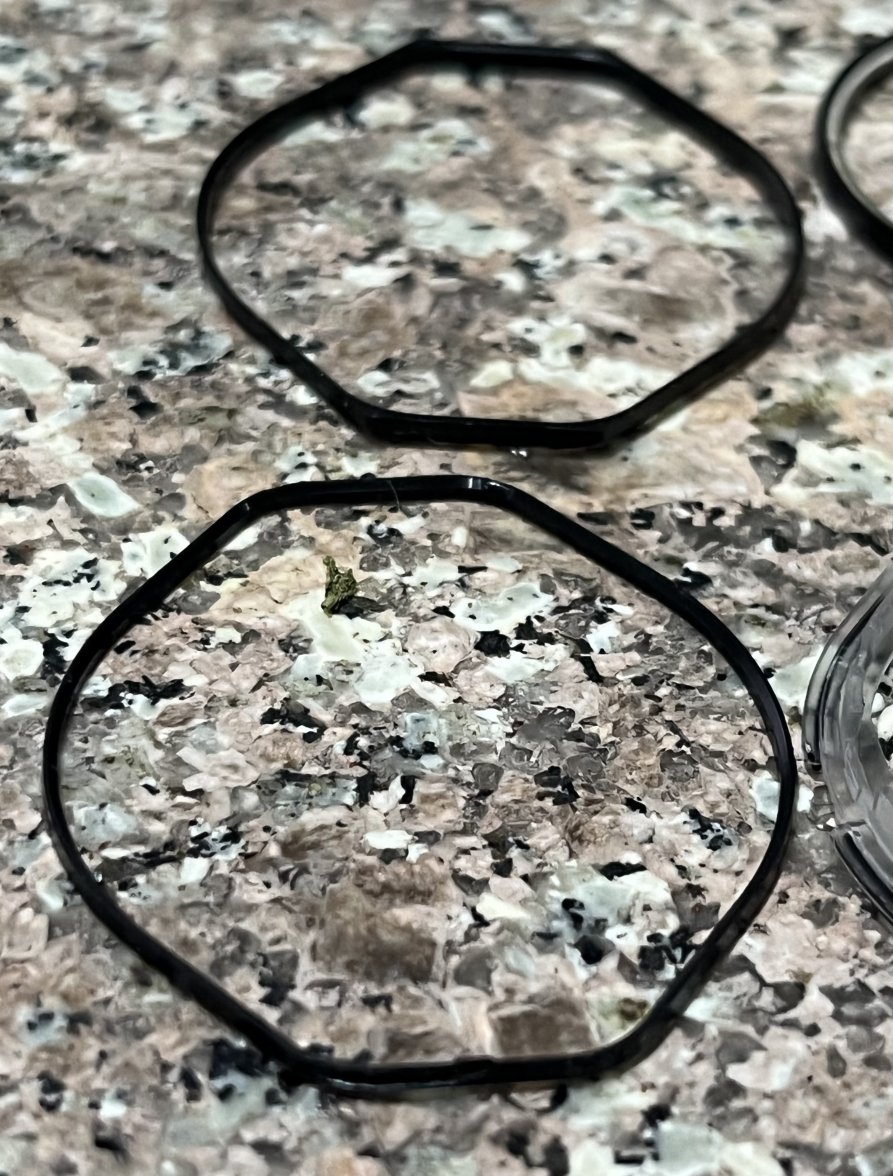
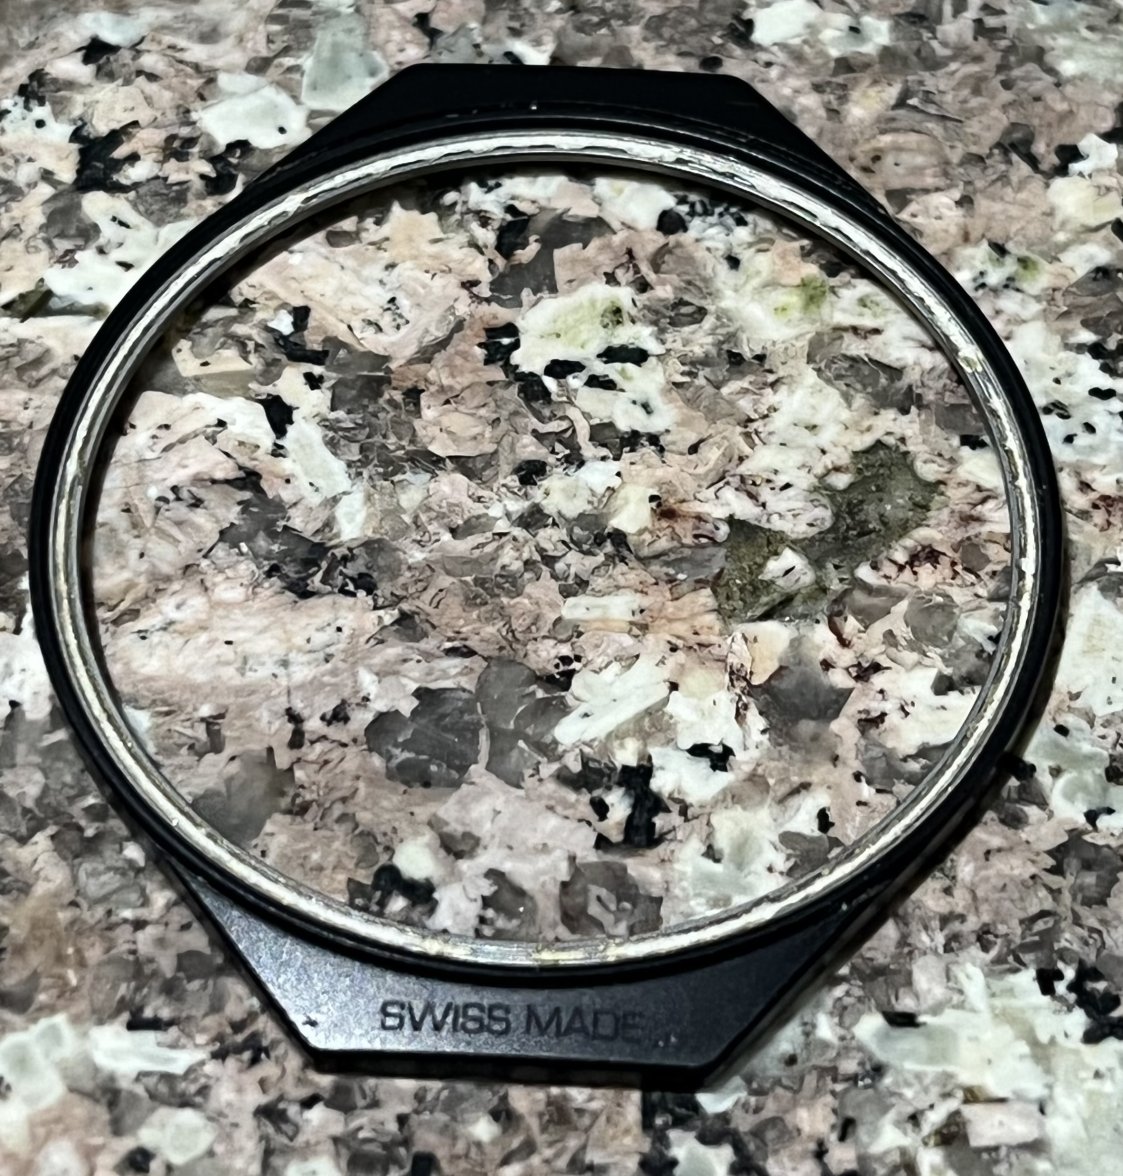
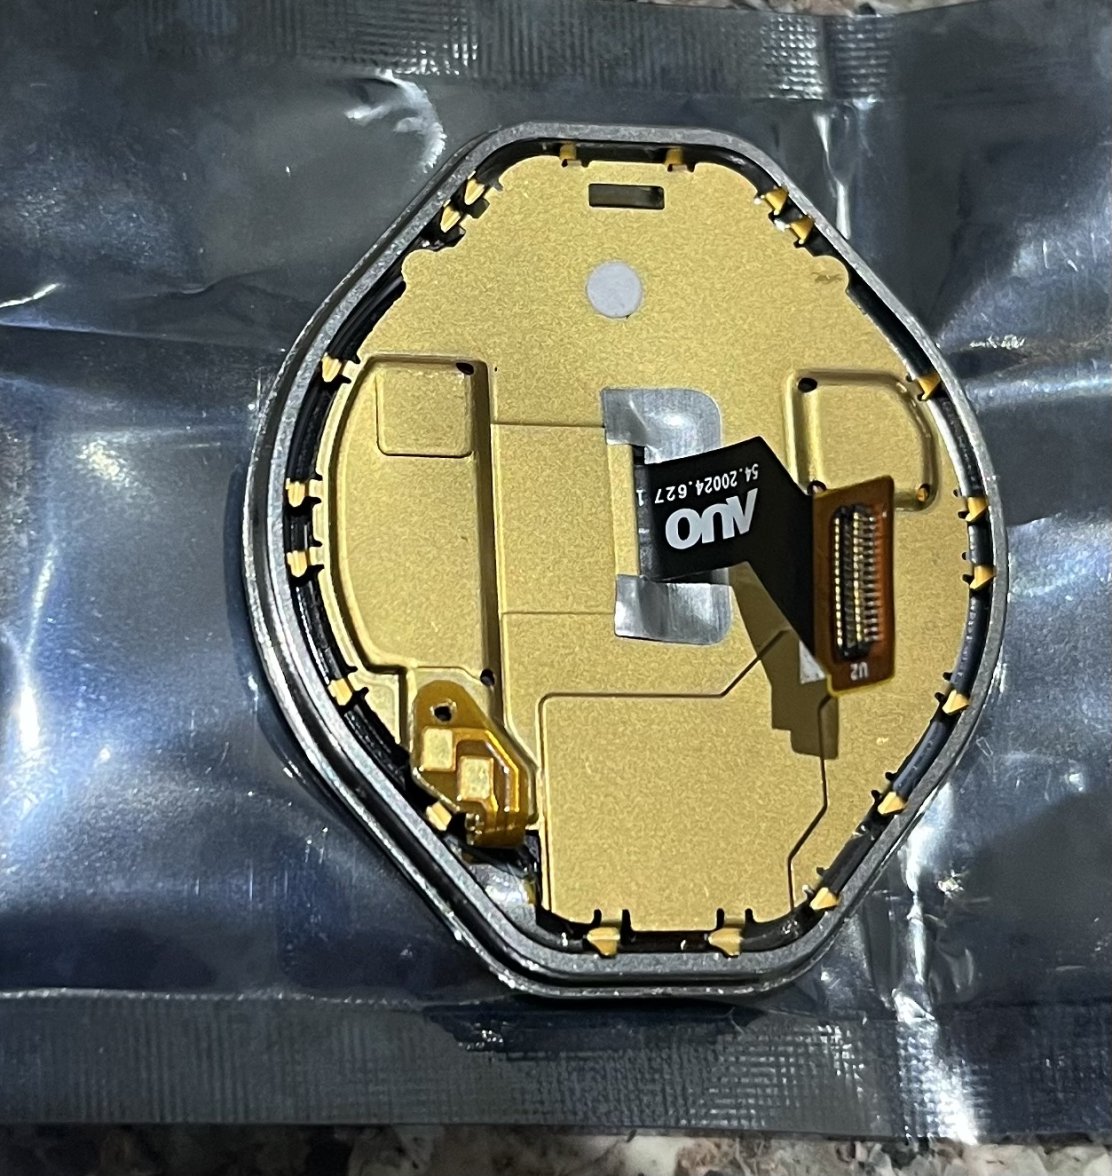
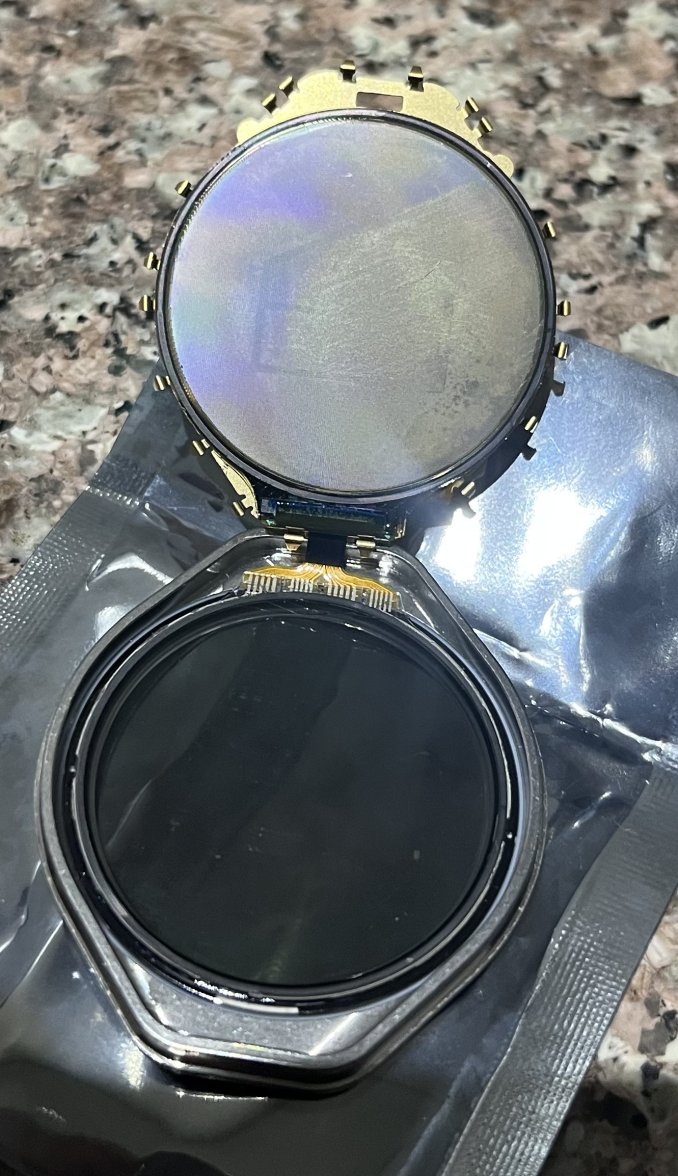
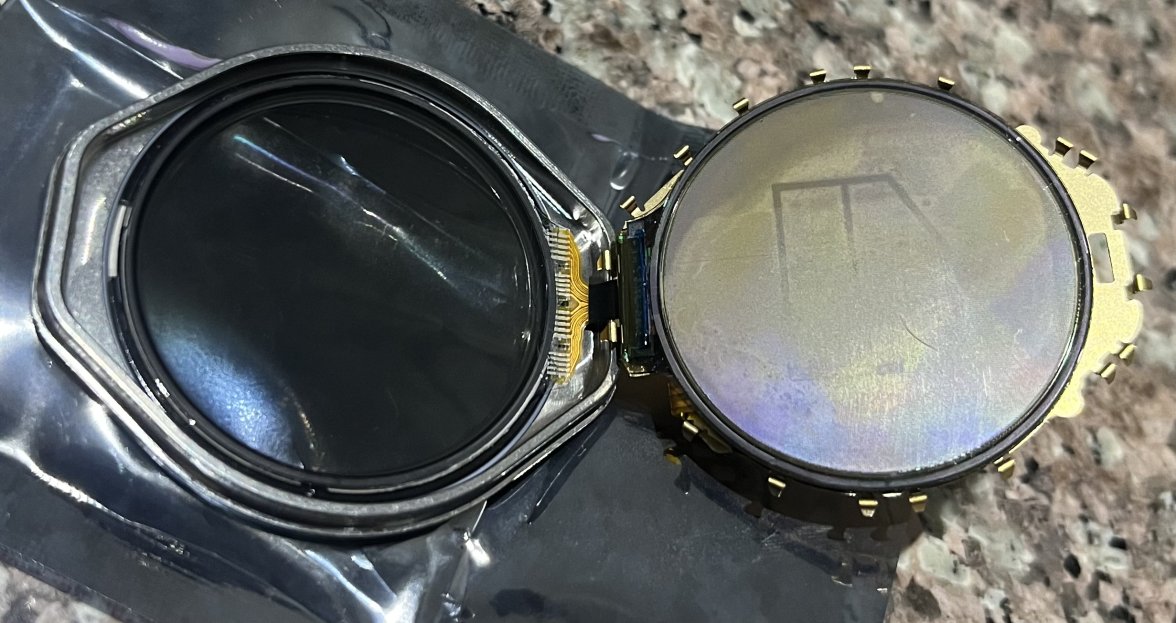
Yes, glue residue is only on the Bezel/LCD module it goes totally around the bezel inside. The LCD module is pressed into the titanium body and looks to be held in by the compression of the red/orange o-ring and the plastic shim/ring. I wish these were available to purchase because they look to be onetime use. This is where I will use a marine type adhesive and sealant on re-assemble.
 
Posts
80
Likes
142
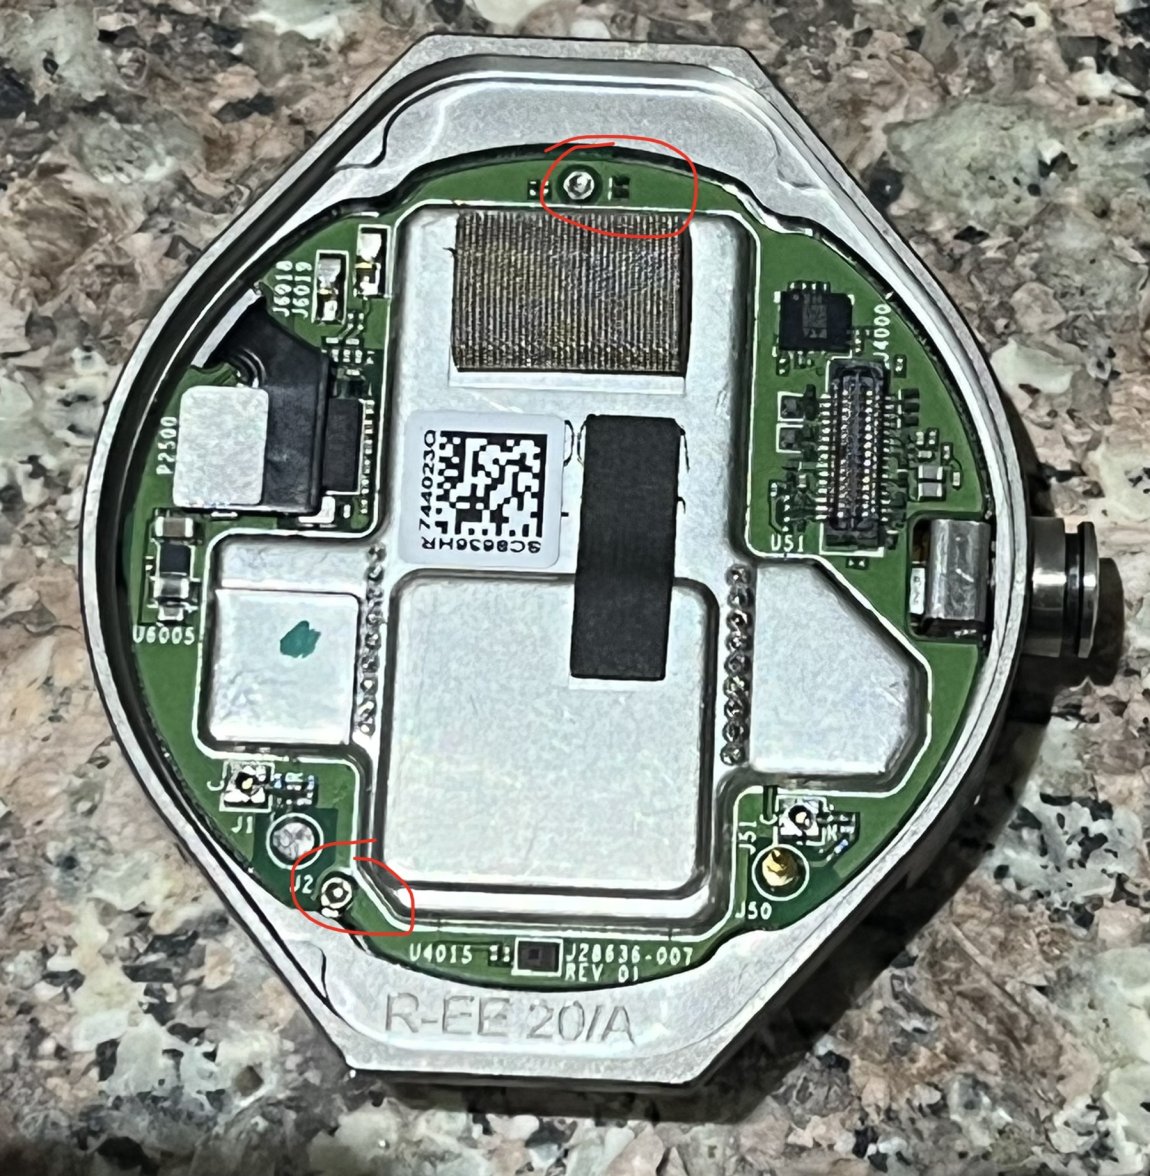
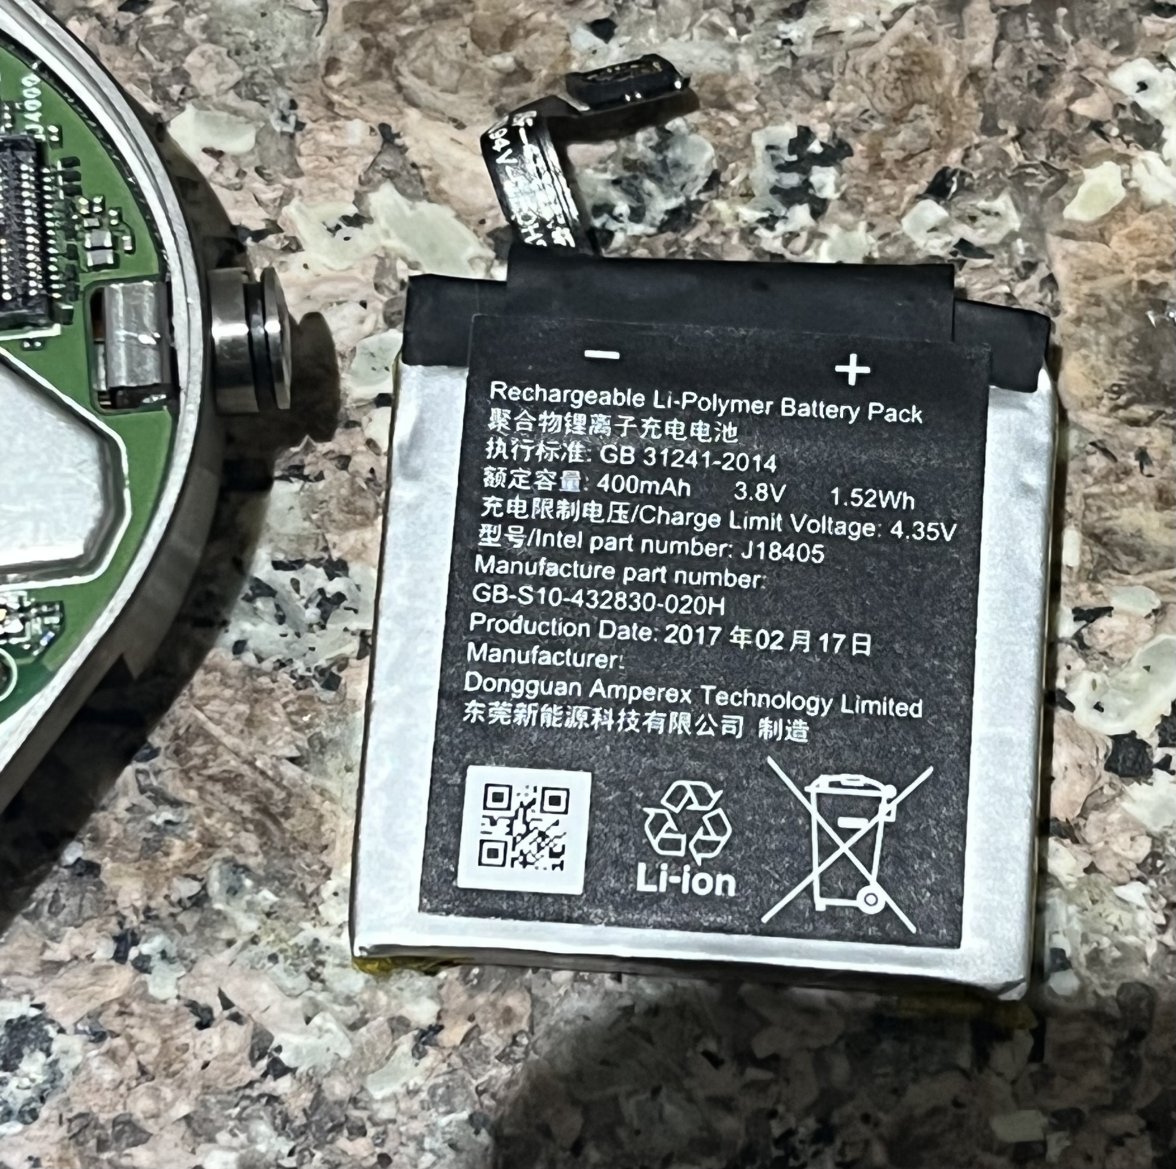
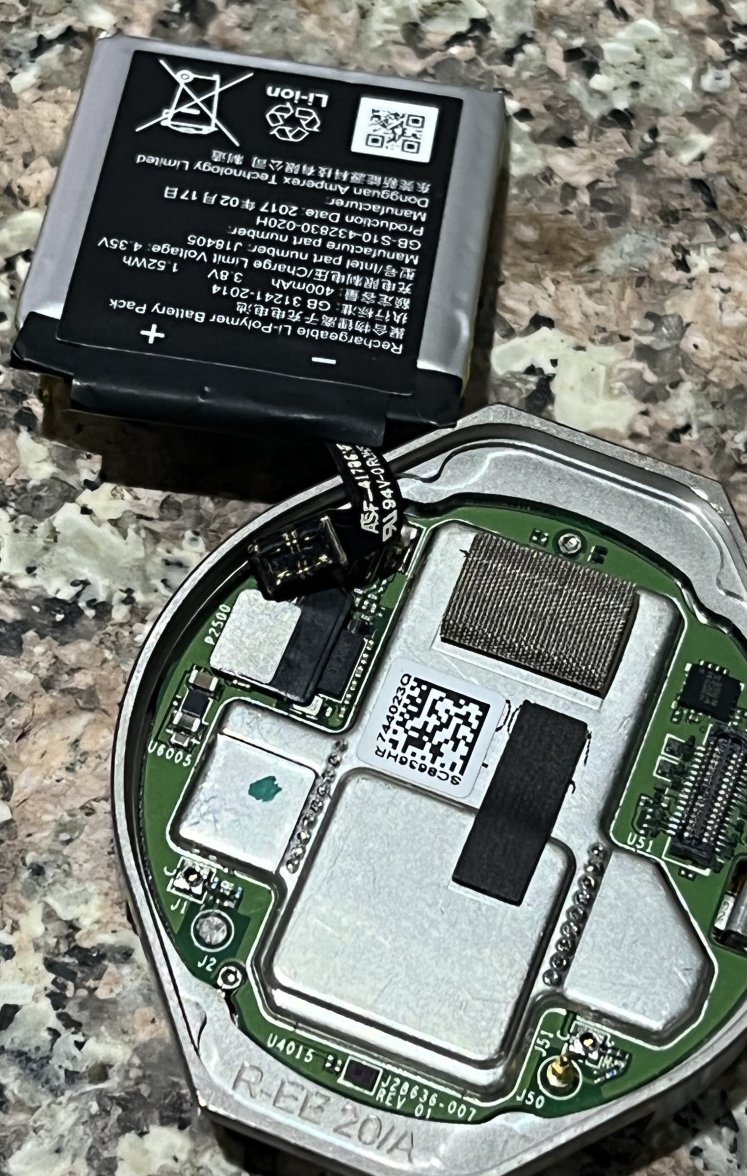
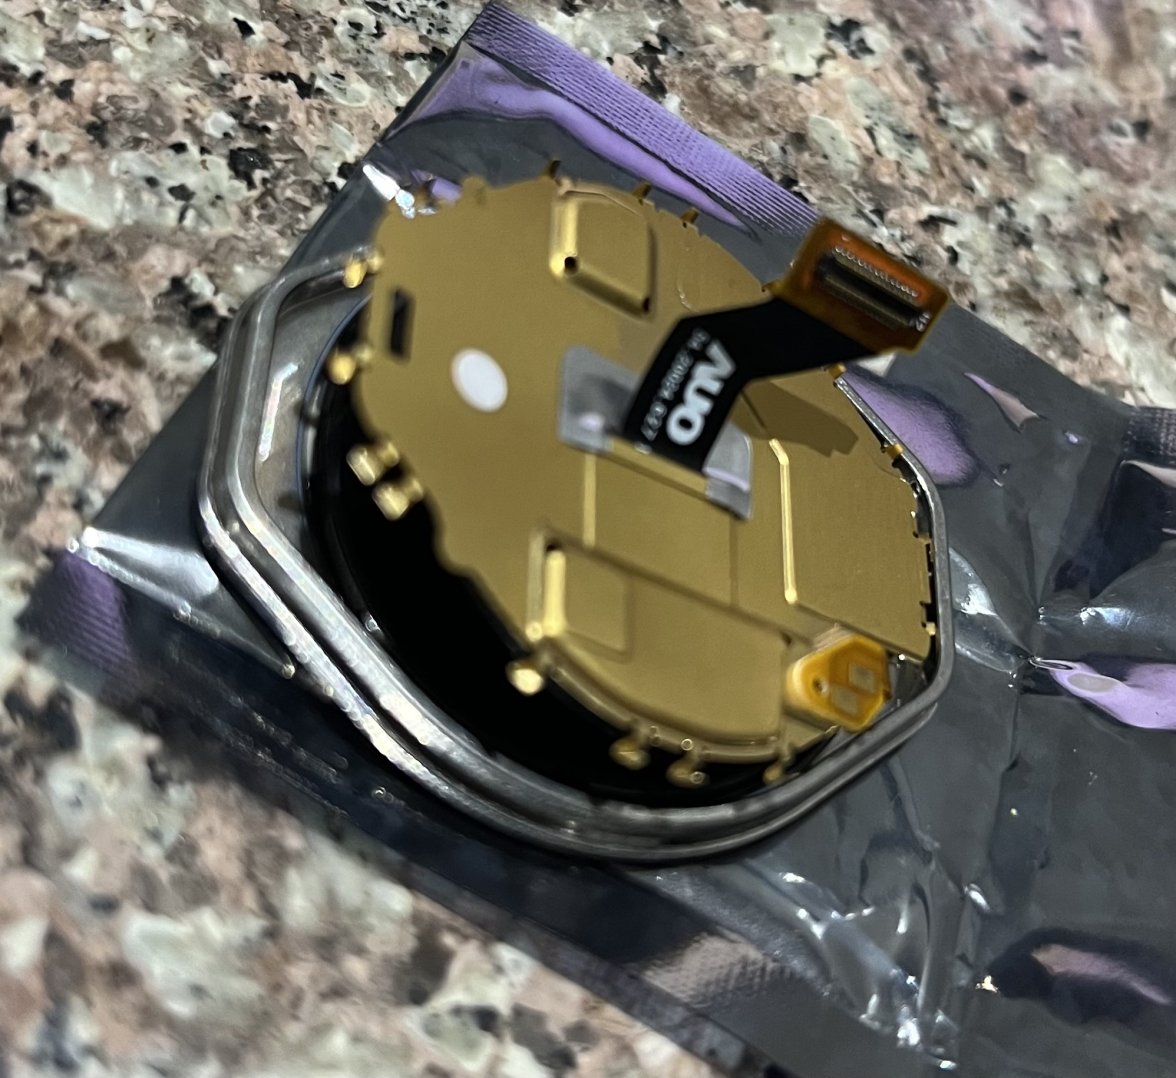
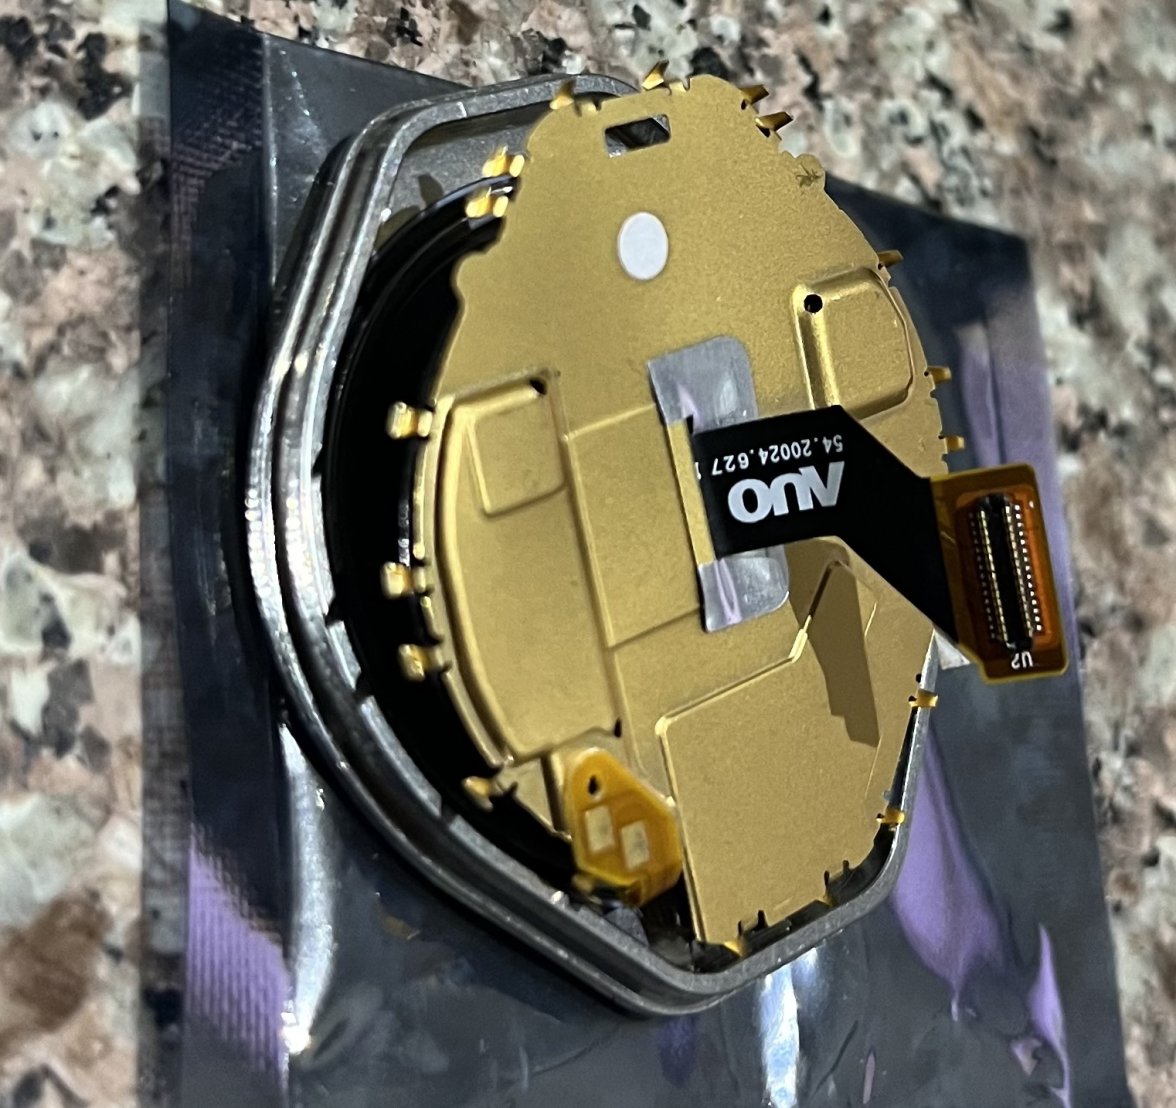
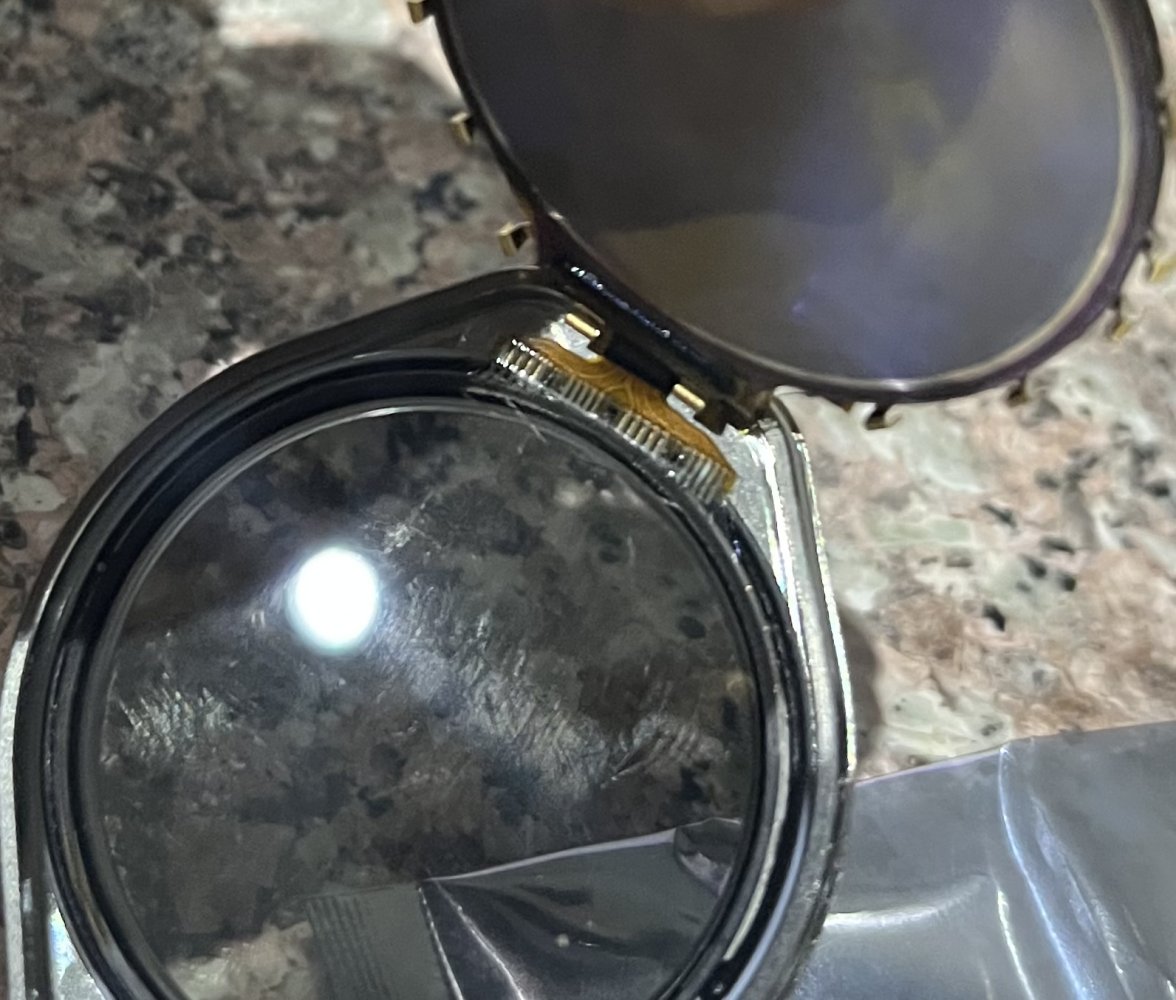
[QUOTE = "VRman, publicación: 1795628, miembro: 55678"] Aquí hay un par de fotografías de todos los componentes, de derecha a izquierda. Usé una herramienta de palanca de plástico, una broca hexagonal de 0,9 mm y una pequeña cabeza plana. El bisel / antena no requirió mucha fuerza. Desde abajo pude ver el tiempo y los elementos externos habían comenzado a romper el adhesivo. Seguramente esto no será el mismo para todos los relojes. Es posible que se requiera el calor de una pistola de calor para aflojar ese adhesivo.

Usando la herramienta de palanca de plástico y tomándome mi tiempo para evitar daños importantes en la junta tórica naranja y la junta de sellado de plástico que mantiene el módulo LCD apretado en el cuerpo de titanio. Esta área requiere atención adicional para minimizar cualquier daño. Esta fue el área más difícil y requerirá un poco de sellador para volver a ensamblar. También mantuve el módulo LCD intacto y no lo desmonté más.

Puede ver que el reloj comenzó a entrar algo de humedad. Este reloj tiene exposición diaria de un entorno costero, agua salada / aire, así que no me sorprende.
Cuando vuelva a montar, usaré un poco de adhesivo y sellador marino además de lo que use para el bisel / antena.

Fuentes de batería:
https://www.aliexpress.com/item/4000989935440.html?spm=a2g0s.9042311.0.0.632e4c4dX1BF2m
https://www.ebay.com/itm/284101941835


[ADJUNTAR] 1230267 [/ ADJUNTAR]
[ADJUNTAR] 1230256 [/ ADJUNTAR]
[ADJUNTAR] 1230257 [/ ADJUNTAR]
[ADJUNTAR] 1230264 [/ ADJUNTAR]
[ADJUNTE] 1230263 [/ ADJUNTE] [ADJUNTE] 1230265 [/ ADJUNTE] [/ QUOTE]
Como son los pasos, el reloj se abre quitando el bisel y de frente o por atras ?.
La batería está debajo de la pantalla o debajo de la placa detrás de de la caja?

Como son los pasos, el reloj se abre quitando el bisel y la parte delantera o trasera ?.
¿La batería está debajo de la pantalla o debajo de la placa detrás de la carcasa?
Gracias por aclarar un poco más.
The battery sets between the case and PCB. Order is just like picture 2 and 3. From Bezel to case and I left LCD module intact as not to cause damage.
 
This website may earn commission from Ebay sales.
Posts
109
Likes
51
[QUOTE = "VRman, publicación: 1796091, miembro: 55678"] Sí, los residuos de pegamento se encuentran solo en el módulo del bisel / LCD y rodea totalmente el bisel en el interior. El módulo LCD se presiona en el cuerpo de titanio y parece estar sujeto por la compresión de la junta tórica roja / naranja y la cuña / anillo de plástico. Ojalá estuvieran disponibles para comprar porque parecen ser de un solo uso. Aquí es donde usaré un adhesivo y sellador de tipo marino al volver a ensamblar. [/ QUOTE]
Since you have the photos, can you list the order of disassembly in the same photograph?
I want to change the battery for a new one but I don't dare. It is still going well but I would like to have it new.

Ya que tienes las fotos puedes enumerar el orden de desmontaje en la misma fotografía?
Quiero cambiar la batería por una nueva pero no me atrevo. Aun va bien pero me gustaria tenerla nueva.
 
Posts
5,791
Likes
15,358
Since you have the photos, can you list the order of disassembly in the same photograph?
I want to change the battery for a new one but I don't dare. It is still going well but I would like to have it new.
I would not attempt to do that battery change, unless it is really necessary. There is a risk of damaging the watch, and that risk is worth taking when the original battery stops working properly, but not while it is still working. It would be a shame to spoil a watch that worked well! 😵‍💫
 
Posts
109
Likes
51
[QUOTE = "Albert-AMG, publicación: 1796104, miembro: 42719"] No intentaría hacer ese cambio de batería, a menos que sea realmente necesario. Existe el riesgo de dañar el reloj, y vale la pena correr ese riesgo cuando la batería original deja de funcionar correctamente, pero no mientras sigue funcionando. ¡Sería una pena estropear un reloj que funciona bien! :confundido:[/CITA]
No planeaba hacerlo de inmediato.
Muchas gracias por su atención.

No pensaba hacerlo de inmediato.
Muchas gracias por tu atencion.
 
Posts
2,423
Likes
9,184
Hello !! very good tutorial, the battery of my gen 1 has died too .... I wanted to ask you a question, to disassemble the battery, did you do it from the front to the back? or did you take off the back cover of the watch first? I think I see the photos that you did from the screen behind Thank you !!
 
Posts
2,423
Likes
9,184
I was able to request the problem, cleaning the pins of the charger and the clock ... the scare was great I saw myself dismantling my tag ::facepalm1::
 
Posts
5,791
Likes
15,358
I was able to request the problem, cleaning the pins of the charger and the clock ... the scare was great I saw myself dismantling my tag ::facepalm1::
Glad to read it was just a problem with the charger! 👍 ::psy::
 
Posts
2,423
Likes
9,184
Thank you very much Albert !!!!

I've had a couple of bad days until the tag logo appeared on the screen 😵‍💫
 
Posts
80
Likes
142
Recap and update on Gen2 battery replacement:
**** Note **** I do not recommend doing this as the LCD assembly is pressed into the main case and appears to use a "one time use" sealing gasket / plastic ring setup. I attempted to secure these parts from TH through various means without any luck. Since my battery was in fact swollen and I had disassembled already I just continued on and reused to old parts along with some Marine Grade adhesive / sealant.

Recap of disassembly:
1) Remove bezel and plastic trim ring - Plastic tool not much force needed
2) Remove LCD assembly from case - Same as above and use plastic tool to remove LCD connector from PCB
3) Remove PCB from case - Remove 3 screws
4) Remove battery from PCB - Unplug connector with plastic tool
The earlier post outlined this
https://forums.calibre11.com/thread...ange-on-connected-models.119389/#post-1795628

Re-assembly
1) Thoroughly cleaned case and LCD assembly of any adhesive residue. Cleaned bezel, sealing rings and trim ring. (These are plastic and brittle take extra care. This was where I could see these are most likely one time use parts and not meant to be re-used. For cleaning I used compressed air, 91% Isopropyl and a pointed fiberglass jeweler's tool. Cleaning was crucial to remove old adhesive and to make sure the titanium surfaces would take the adhesive and sealants I am using.
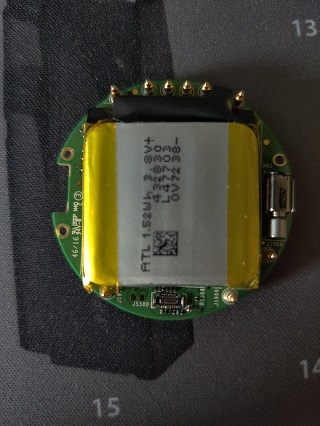
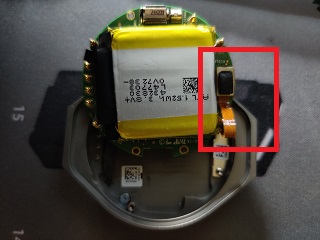
2) Attach new battery to PCB and connect the battery to the PCB(Red Box)


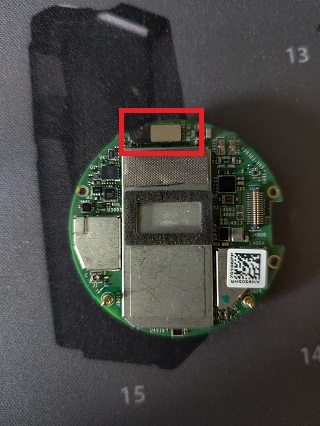
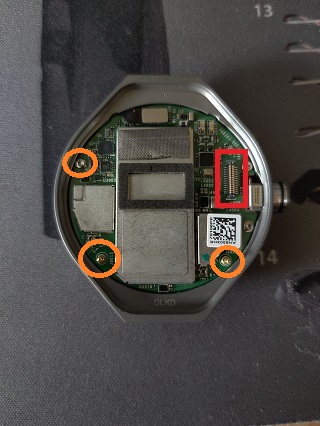
3) Attach case flat cable to PCB(Red Box) and install PCB to case with 3 screws(Orange Circles) 0.9 Hex bit


4) Attach LCD assembly connect to PCB(Red Box in pic with orange circles).

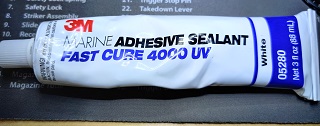
5) At this point not trusting the old sealing ring and gasket, 3M Marine Adhesive Sealant was added to the inside of the case lip and used a jig/clamps to press the LCD assembly into place. I did this at a boat facility with the help of some professionals and couldn't take any pictures.


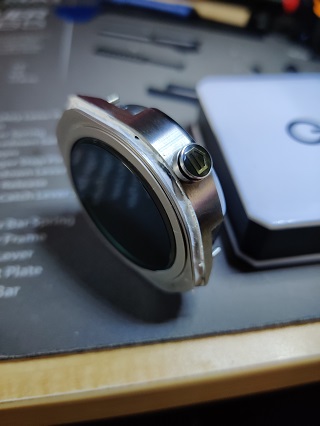
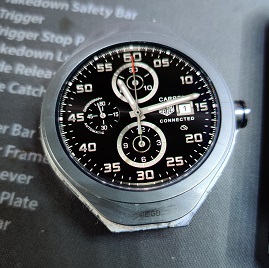
6) Once pressed in, I wiped excess material away and let cure for a full 2 days. Below is at it sets today fully functional. I test fitted the trim ring and bezel, trimming some the the sealant in places to get a proper fit. I want to get about 10 charge cycles and multiple tests under water before gluing into place.


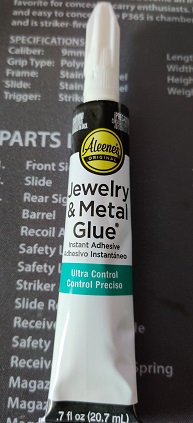
7) For the Bezel I'll use this Jewelry & Metal Glue


I'll post one more follow-up with Bezel and trim ring attached.
Edited:
 
Posts
80
Likes
142
Thanks All,
I reformatted the post. The pics should be inline now with the numbers. Having Chrome set to always translate Spanish was messing with the format.
 
Posts
33
Likes
12
diassembly of the tag heuer connected modular 41mm - most important - there is no glue on any parts - they just fit together with air pressure being sucked out when pressing the face into the body - the red seal is good enough - make sure the red seal is flush against the lcd screen .
the watch opens without any force at all and presses together without force too , but make sure u press one side at a time working your way around until alll access air is pushed out the body by the red seal - SO THAT THE FACE WILL JUST GET SUCKED INTO THE BODY AT THE END.
same as for 45 mm above VRman - accept the body has only 2 screws to remove the board and battery is under the board
the battery u listed above is correct for this modular 41mm as well - looks same and works same .
i am looking for a replacement screen - can anyone tell me where i can find one
 
Posts
33
Likes
12
the only place that has glue - is a cement based glue between the, dial face black "swiss made" logo part,and top dial with the numbers - that numbers dial is the only glued part to the black frame - u can see the white glue on the black frame above - this must only be place last - this will creat a air seal from numbers dial to black dial plate and watch glass face - not too much glue it must not go over to the glass face
 
Posts
33
Likes
12
this watch is all about air sucking the face into the body - and same with the black dial face - just air will suck into place
 
Posts
33
Likes
12
u are the man boss - this battery worked for my E2 modular 41mm - love it - i am looking for a screen for this watch - any luck ? can u find me one please
 
Posts
5,791
Likes
15,358
Video about battery change in E2 Modular 45:

 
Posts
90
Likes
229
Thank you for these , works very well for me as well!
( 16 hr battery life with tag studio face, but I want more so here I am )

Really appreciate this sharing ...........and

allow me to apologize, initially I though you guys must be crazy , who need a press to assemble the device ? no body need that for Assembling back a smart phone.

Now I understand , and I wish I do have press which will had been save a lot of sweat and effort!
 
Posts
2
Likes
3
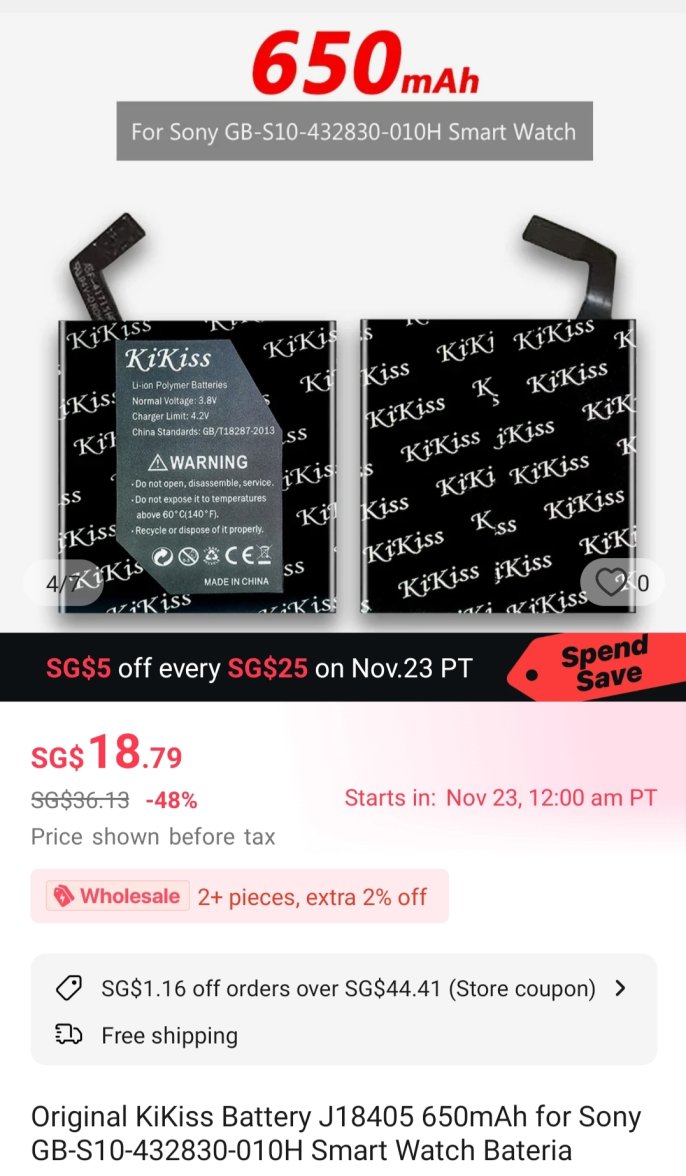
Hi, I been searching for the Modular 45 batt and found this battery which have the same code (same as sony) but higher capacity which means it can last longer. Any experience or pros here can advice if it will work?